-
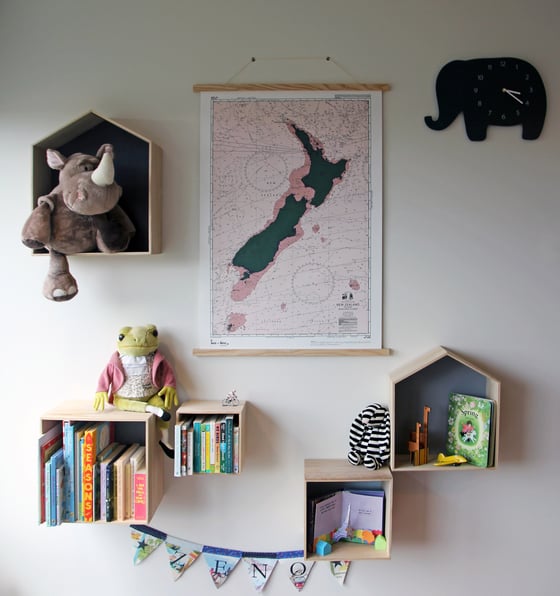
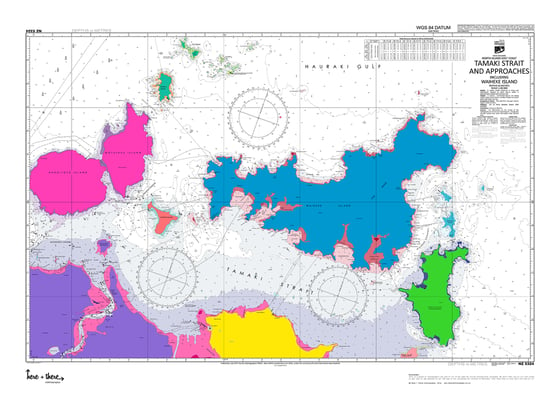
New Zealand Map - Blushing
$95.00
-
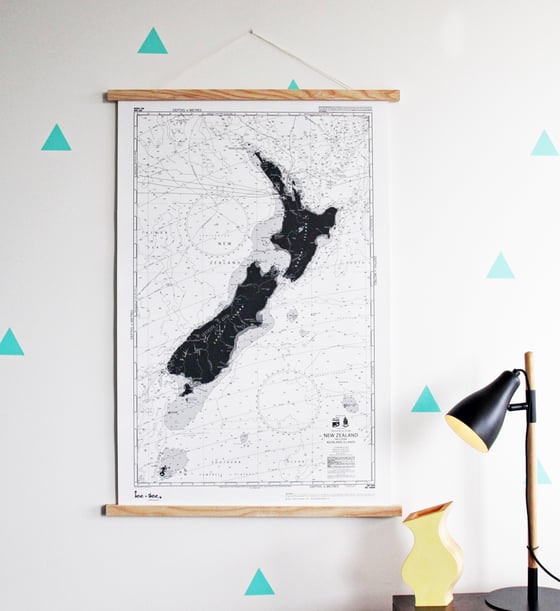
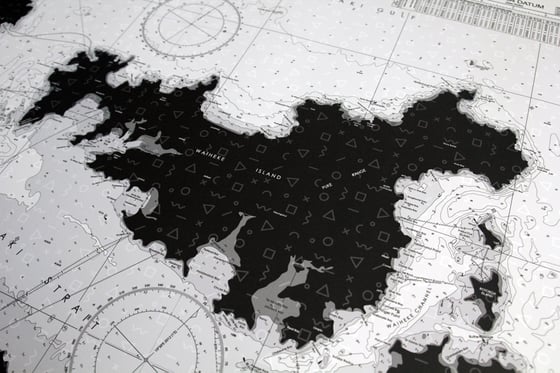
New Zealand Map - Silver Fox
$95.00
-
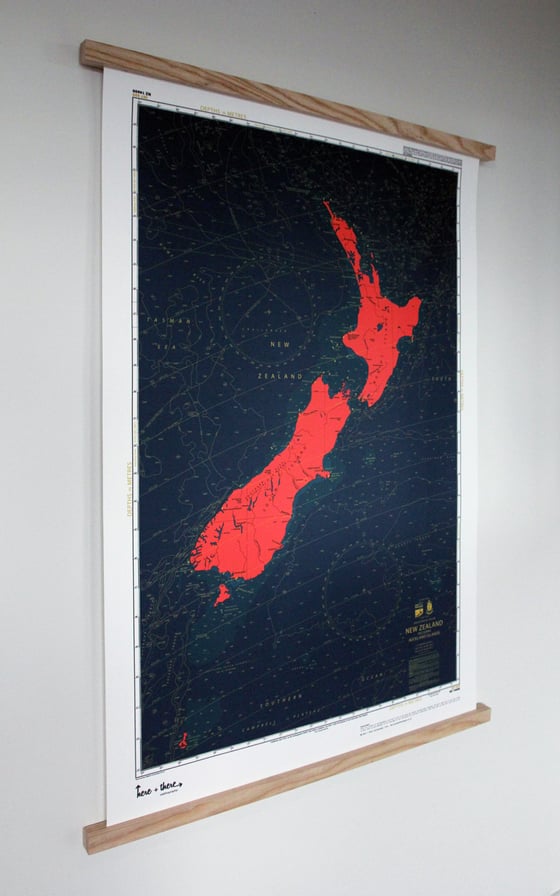
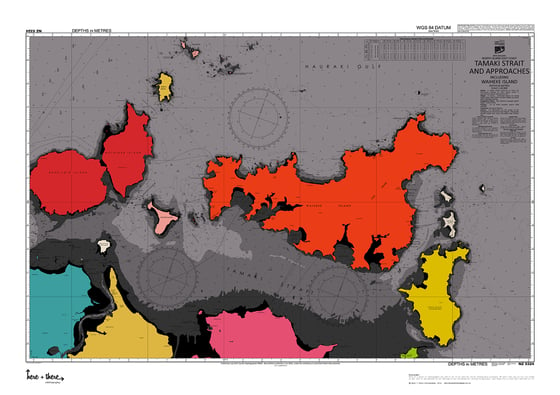
New Zealand Map - Bloody Mary
$95.00
-
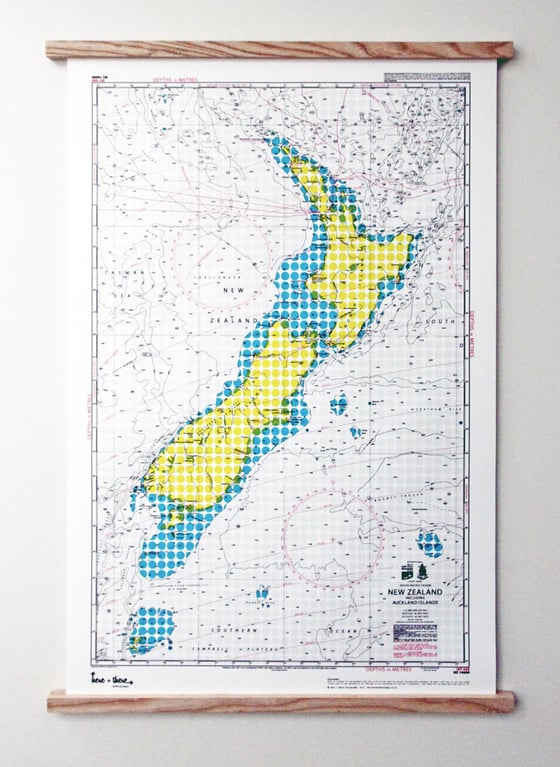
New Zealand Map - Yellow Polka
$95.00
-
Hauraki Gulf Map - 1983
$95.00
-
Hauraki Gulf - La Bomb Bomb
$95.00
Sold Out
-
Hauraki Gulf - Neon Bomb
$95.00
-
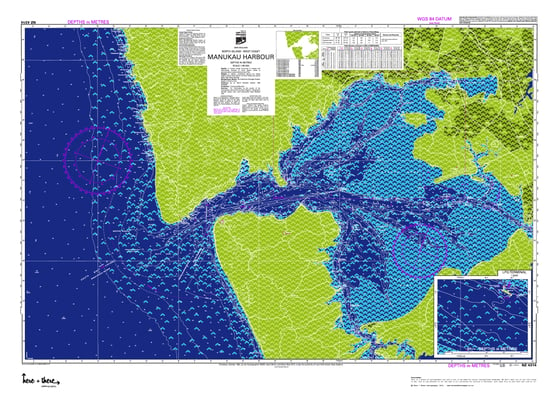
Manukau Harbour - Blue Bombshell
$95.00
-
Manukau Harbour - Little Pyramids
$95.00
-
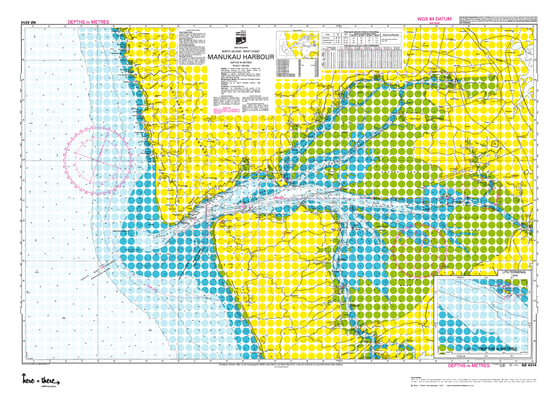
Manukau Harbour - Yellow Polka
$95.00
-
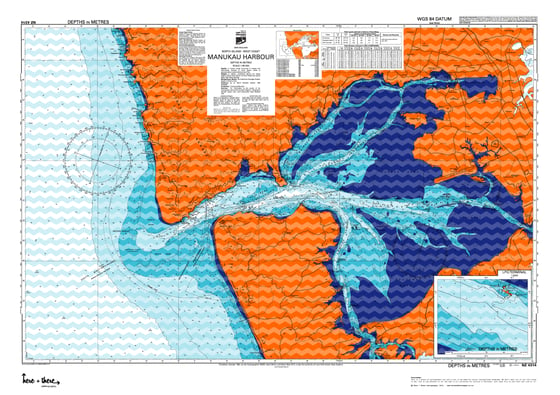
Manukau Harbour - Rainbow Bomb
$95.00
-
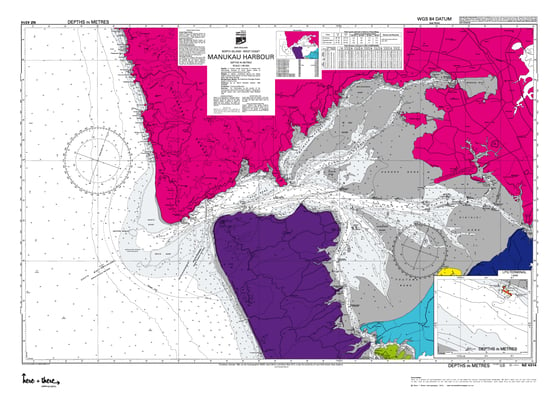
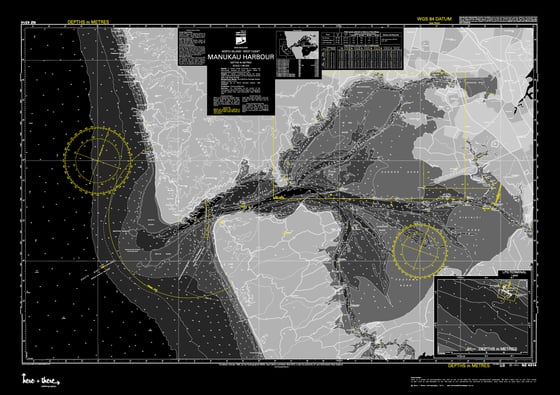
Manukau Harbour - Black Mamba
$95.00
-
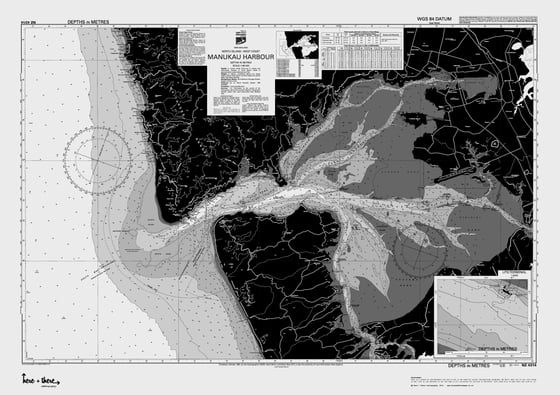
Manukau Harbour - Silver Fox
$95.00
-
Auckland Harbour West - Yellow Polka
$95.00

-
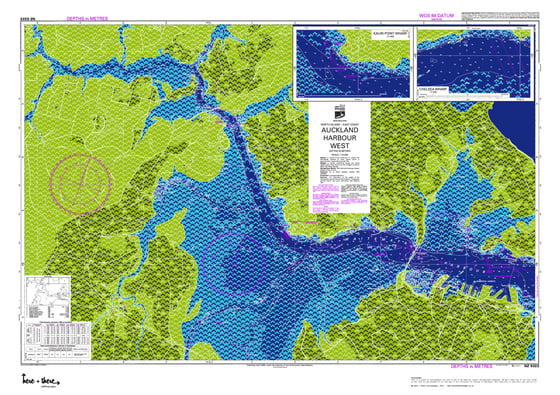
Auckland Harbour West - Blue Bombshell
$95.00
-
Auckland Harbour West - Silver Fox
$95.00
-
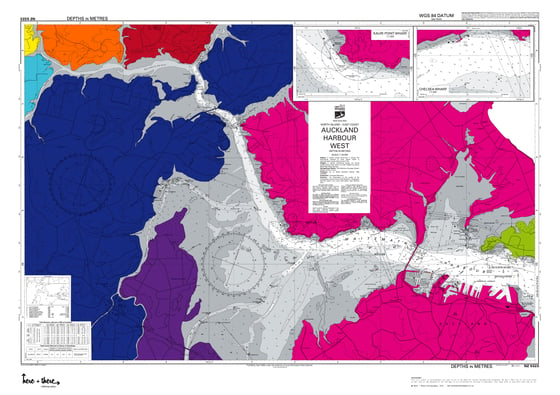
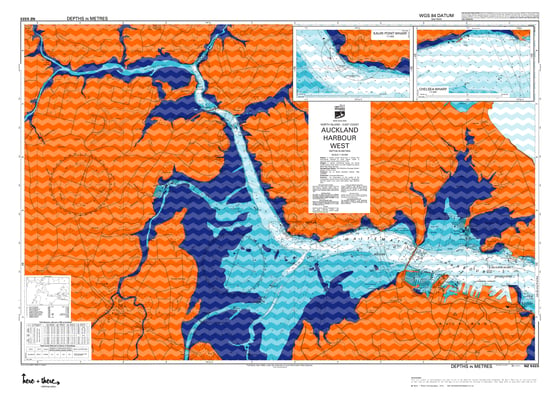
Auckland Harbour West - Rainbow Bomb
$95.00
-
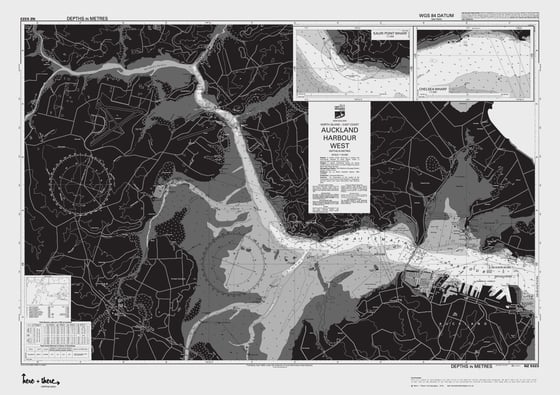
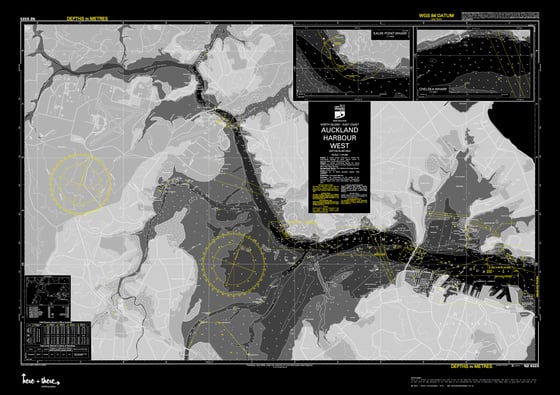
Auckland Harbour West - Black Mamba
$95.00
-
Auckland Harbour West - Little Pyramids
$95.00
-
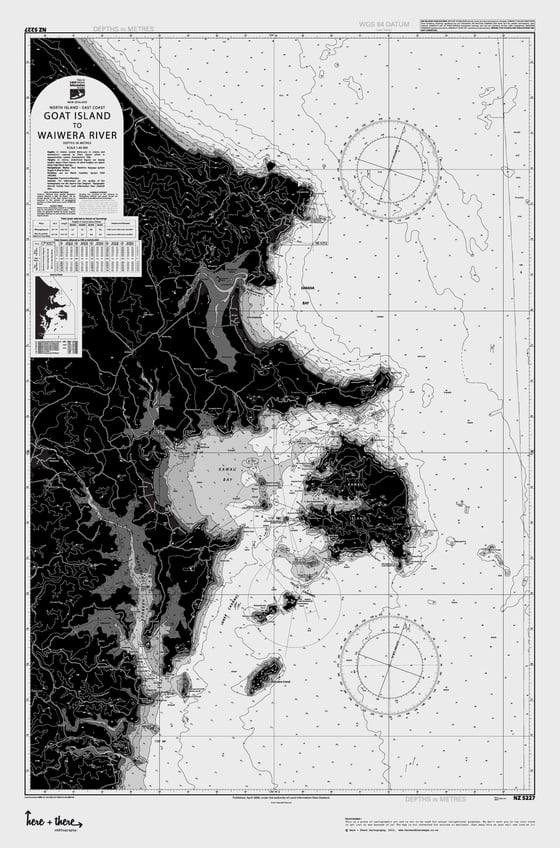
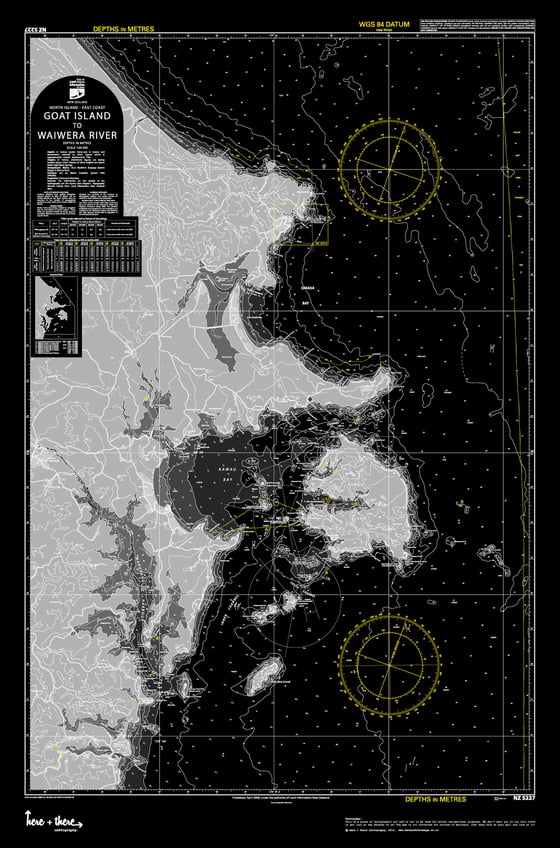
Goat Island to Waiwera - Silver Fox
$95.00
-
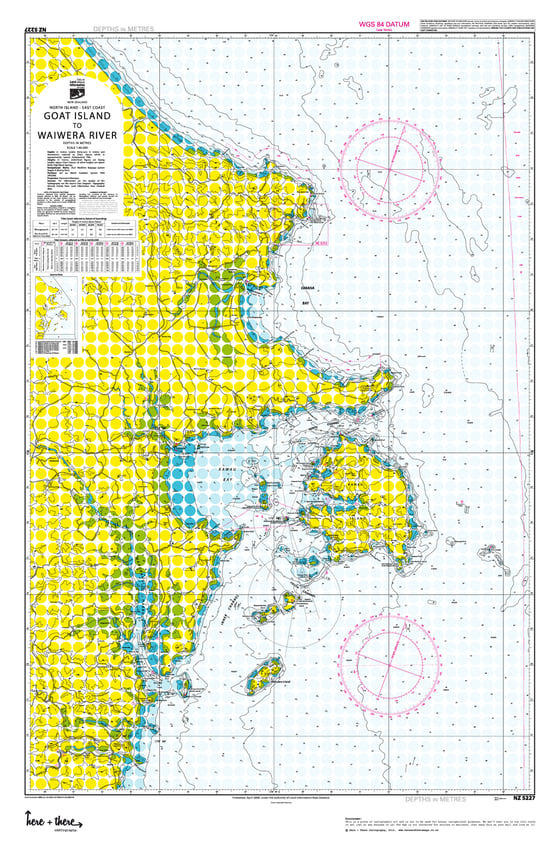
Goat Island to Waiwera - Yellow Polka
$95.00
-
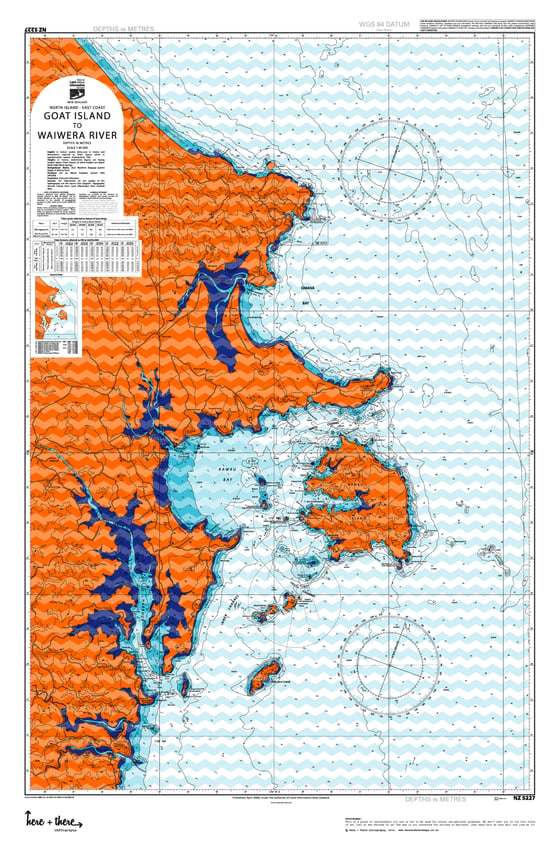
Goat Island to Waiwera - Rainbow Bomb
$95.00
-
Goat Island to Waiwera - Little Pyramids
$95.00
-
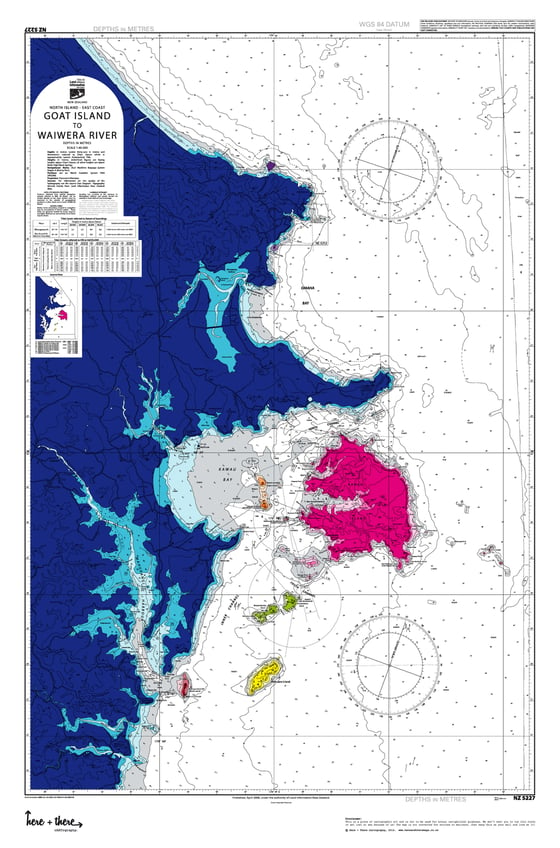
Goat Island to Waiwera - Blue Bombshell
$95.00
-
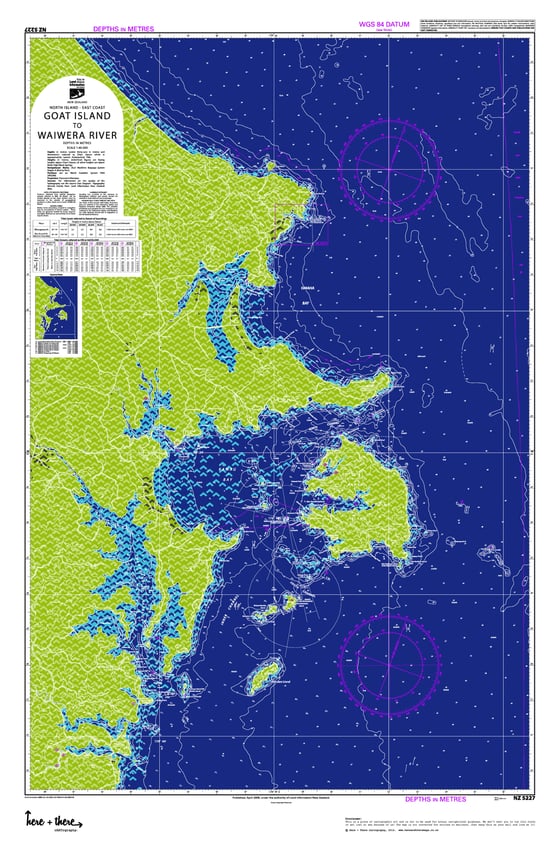
Goat Island to Waiwera - Black Mamba
$95.00
-
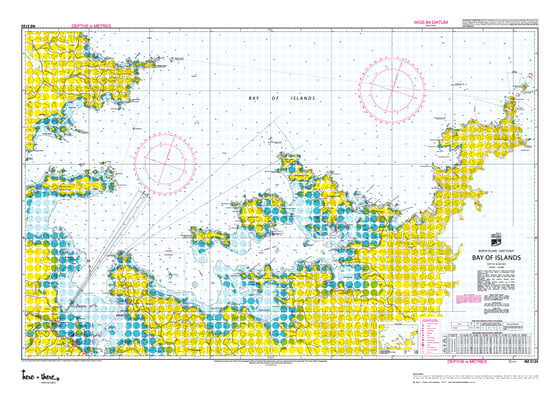
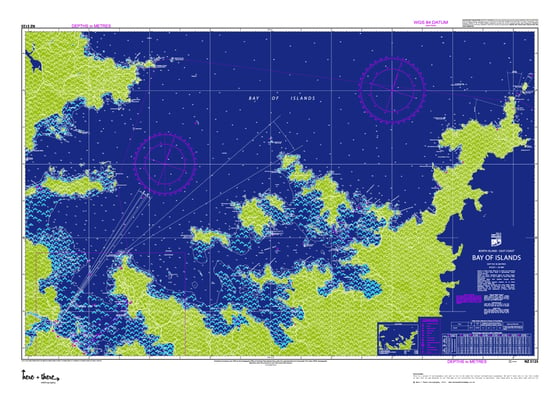
Bay Of Islands - Yellow Polka
$95.00
-
Bay Of Islands - Silver Fox
$95.00
-
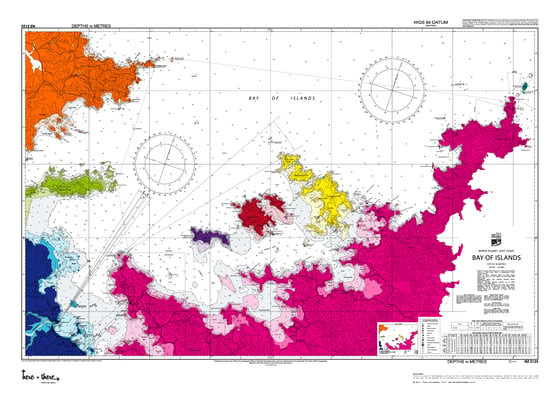
Bay Of Islands - Rainbow Bomb
$95.00
-
Bay Of Islands - Little Pyramids
$95.00

-
Bay Of Islands - Blue Bombshell
$95.00
-
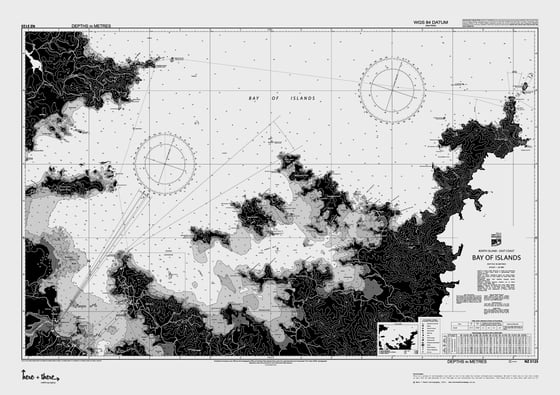
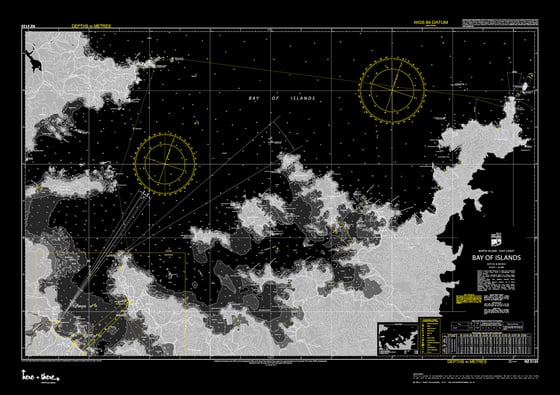
Bay Of Islands - Black Mamba
$95.00
-
Cook Strait - Little Pyramids
$95.00
-
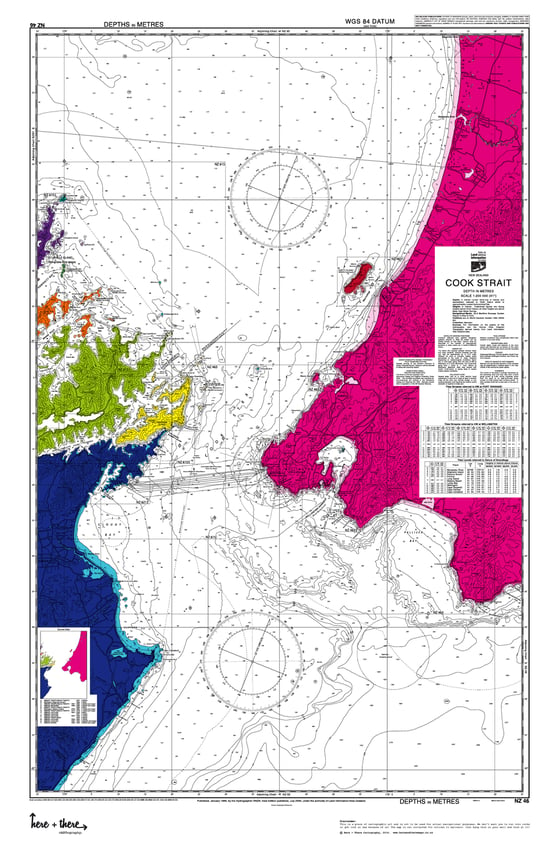
Cook Strait - Rainbow Bomb
$95.00
-
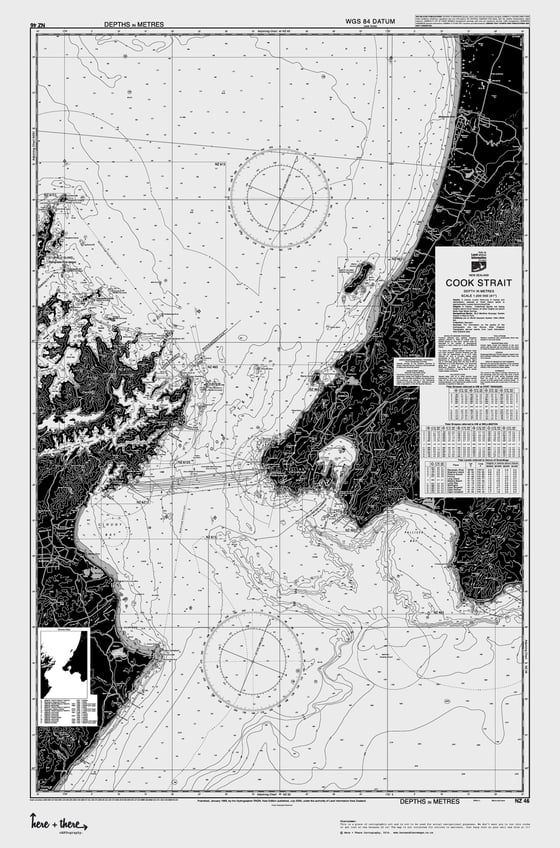
Cook Strait - Black Mamba
$95.00
-
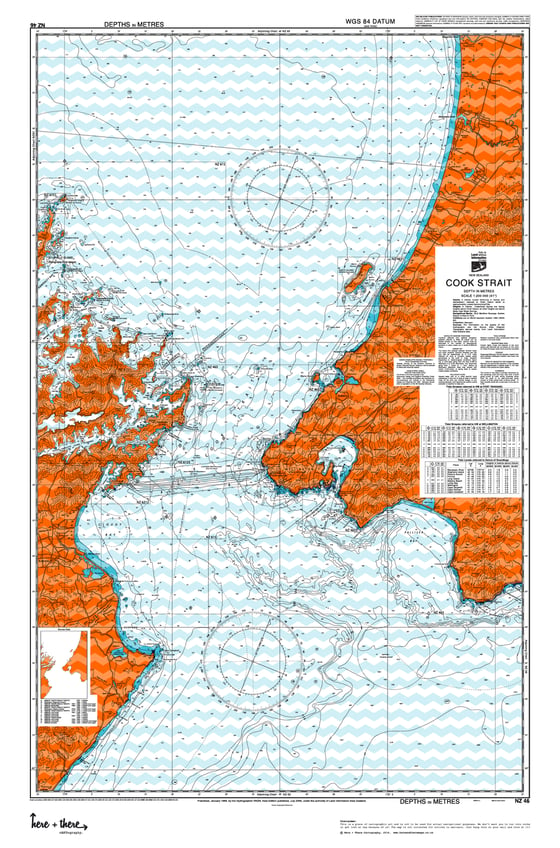
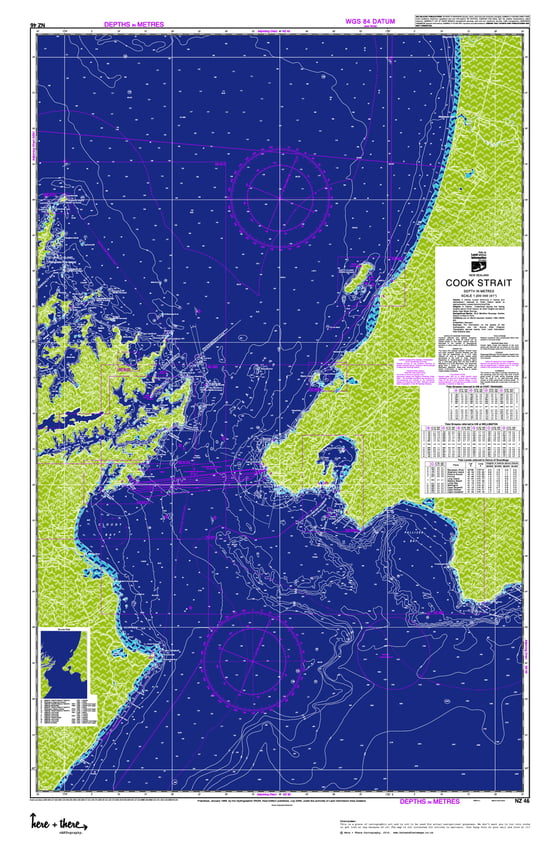
Cook Strait - Blue Bombshell
$95.00
-
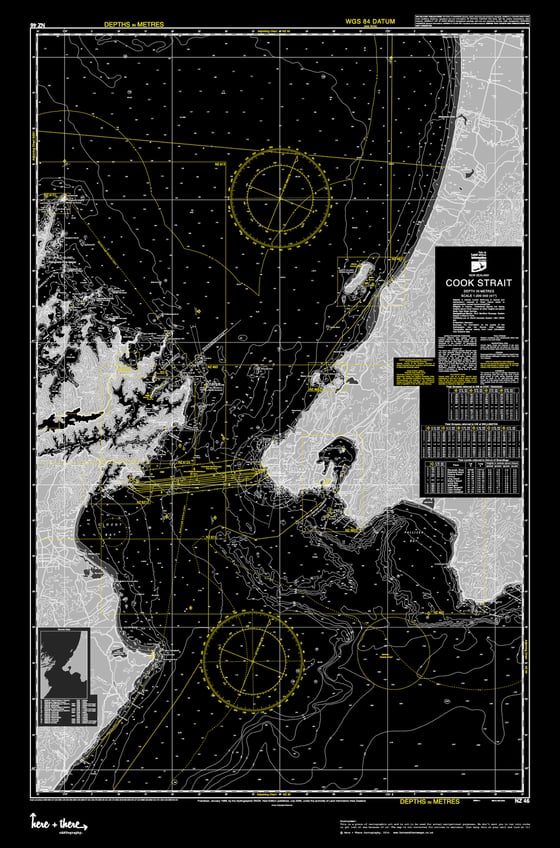
Cook Strait - Silver Fox
$95.00
-
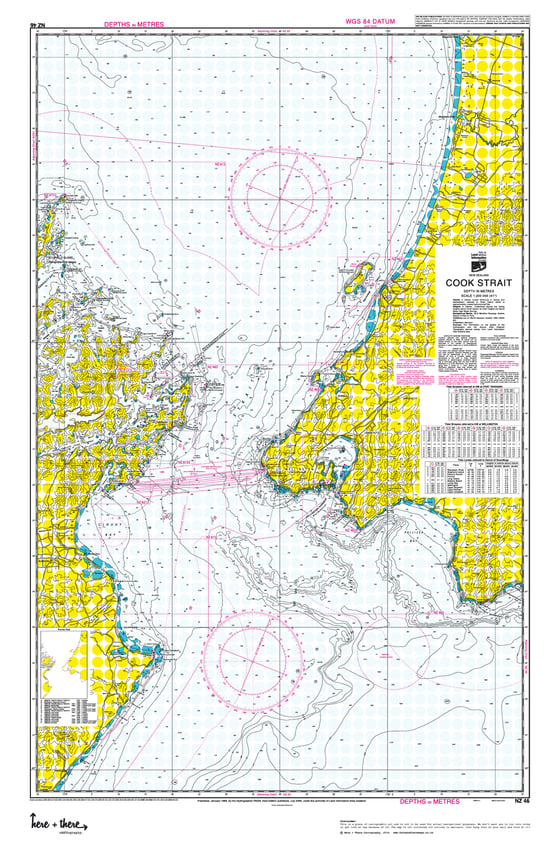
Cook Strait - Yellow Polka
$95.00
-
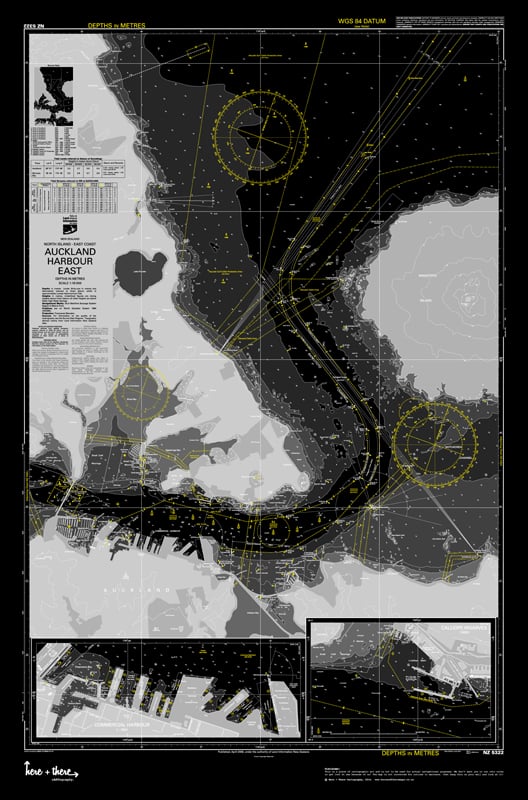
Auckland Harbour - Black Mamba
$95.00
-
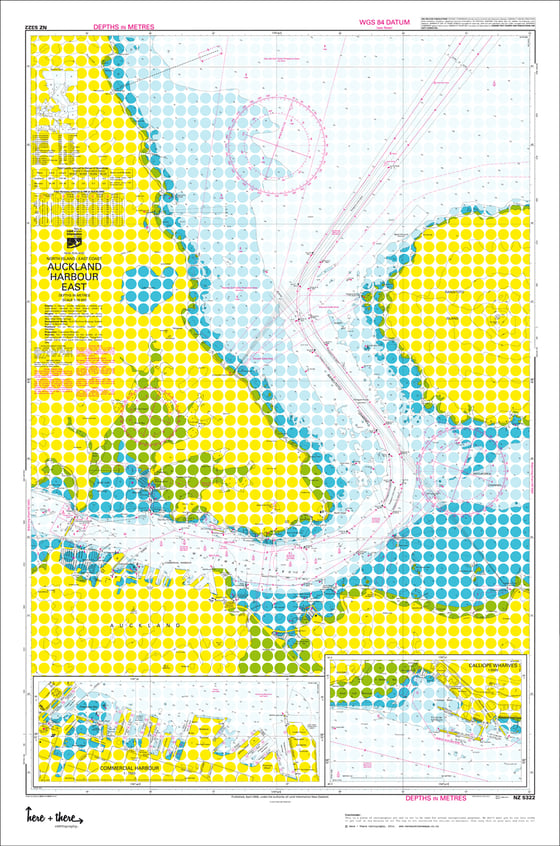
Auckland Harbour - Yellow Polka
$95.00
-
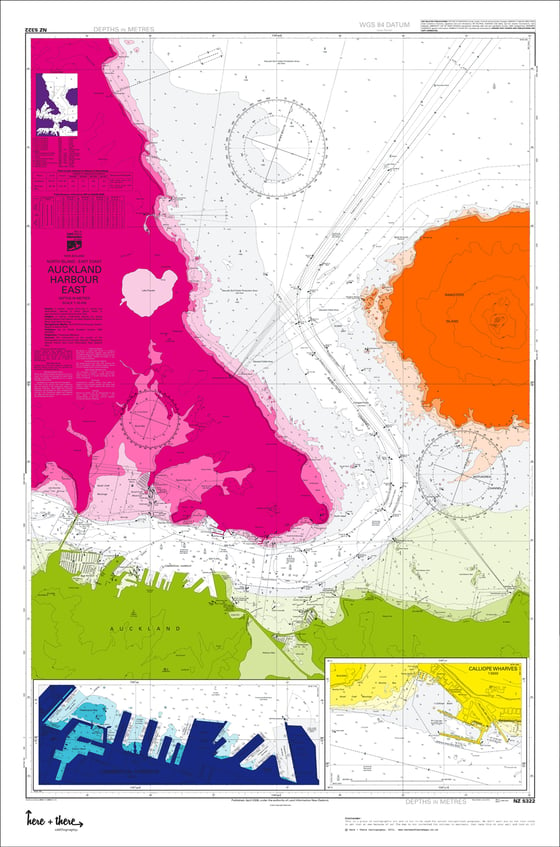
Auckland Harbour - Rainbow Bomb
$95.00
-
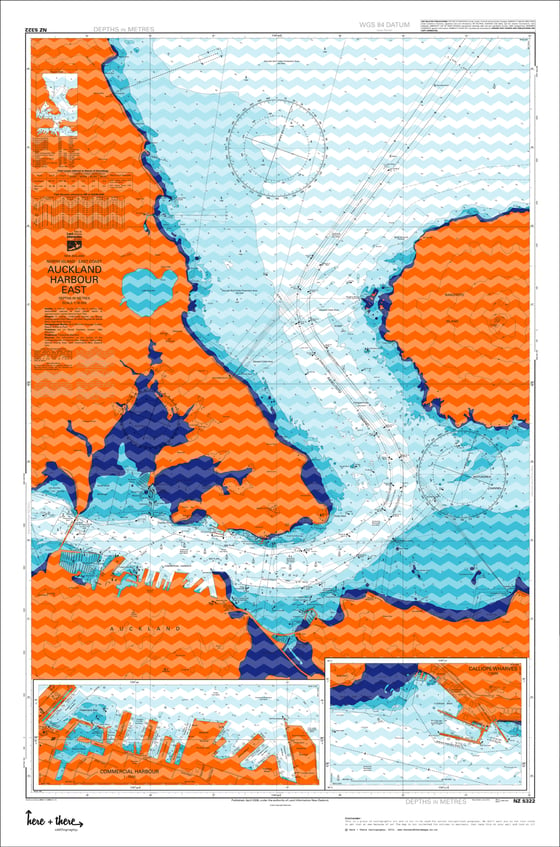
Auckland Harbour - Little Pyramids
$95.00
-
Auckland Harbour - Silver Fox
$95.00

-
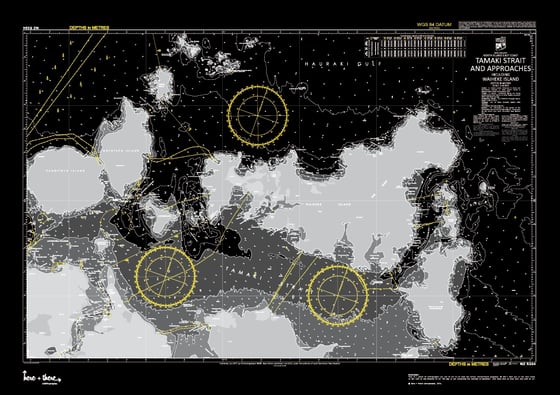
Hauraki Gulf - Black Mamba
$95.00
-
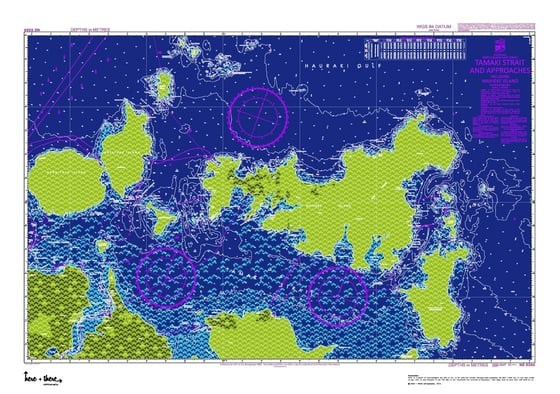
Hauraki Gulf - Blue Bombshell
$95.00
-
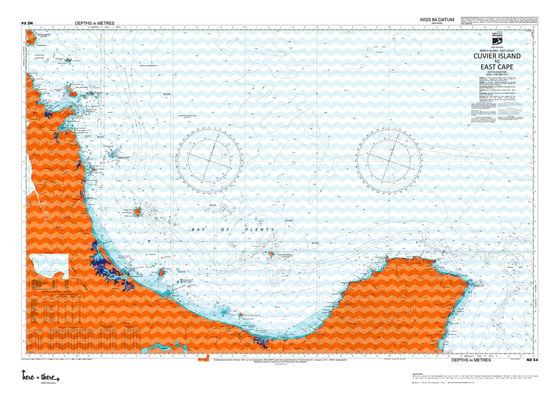
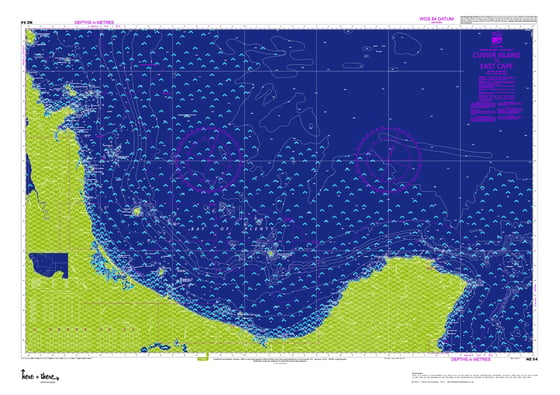
Coromandel + The BOP - Blue Bombshell
$95.00
-
Coromandel + The BOP - Rainbow Bomb
$95.00
-
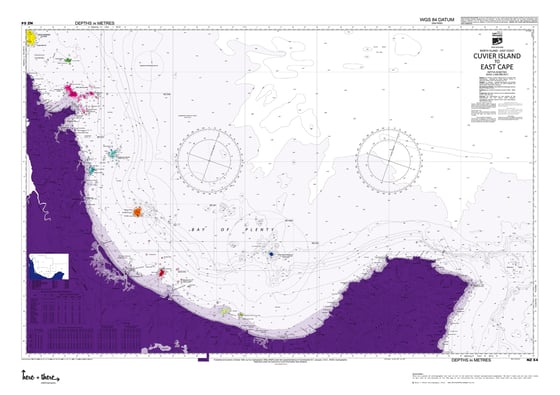
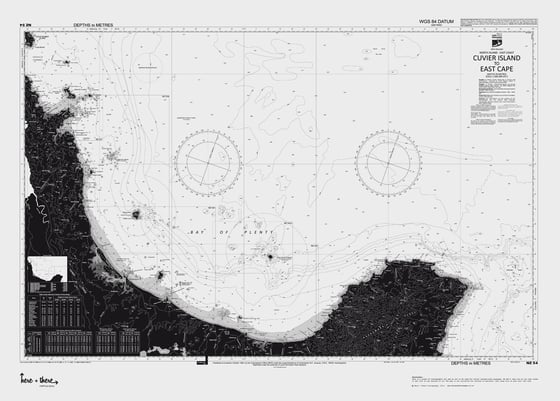
Coromandel + The BOP - Silver Fox
$95.00
-
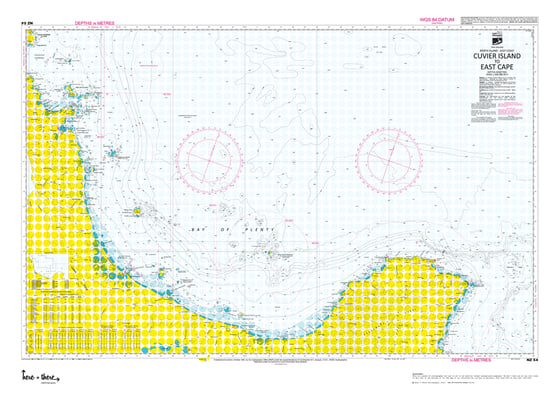
Coromandel + The BOP - Yellow Polka
$95.00
-
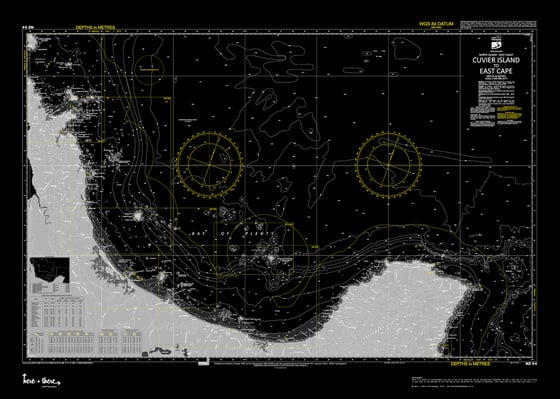
Coromandel + The BOP - Black Mamba
$95.00
-
Coromandel + The BOP - Little Pyramids
$95.00